Plugin rfxcom
Purpose
The rfxcom plugin handle the following Rfxcom hardware devices:
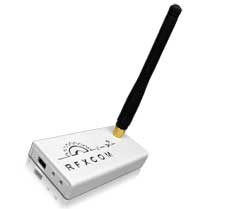
RFXtrx433 USB 433.92MHz Transceiver
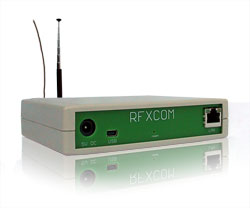
RFXLAN Transceiver 433.92 MHz with xPL interface
You will get more informations on these devices on the official RFXCOM website
Dependencies
There is no dependency.
Install the RFXCOM usb device
Create an udev rule
You may create a udev rule for this device. You can find sample udev rules in the udev/ folder of this plugin.
You just need to copy the choosen sample file in the folder /etc/udev/rules.d/ and unplug/plug the device.
Install the RFXCOM xPL LAN device
Set up your RFXCOM lan with the xPL firmware (check the RFXCOM LAN module documentation). Plug your RFXCOM lan on the same network as your Domogik server.
Plugin configuration
Here is the global configuration:
| Key | Type | Description |
|---|---|---|
| device | string | For the usb model, the path to the RFXCOM serial device. Example : /dev/rfxcom |
Create the devices
If your device is already listed in the products list, select it. Some fields will be automatically prefilled.
How to get a device address ?
All the devices detected by the plugin are listed in Domogik administration. To see them, make sure that the plugin is started, wait a few minutes to let the plugin see all sensors, activate manually the open/close sensors, switch on or off the lights, ... Then, you can look for detected devices in the Domogik devices part.
How to set a device to an address ?
Depending of the device (brand, model), there are various way to set up the hardware device address. The device documentation may help you to find how to do.
Here are the steps to set an address to a device, for example a Switch plug :
- create the related device in Domogik and set it some address, for example : address = 0x0038abfc, unit = 11.
- put the hardware device in learning mode (thanks to the device documentation)
- in Domogik administration, on the device details, click on the “On” button
- the device light should blink to tell it is ok
Start the plugin
You can now start the plugin (start button) and use the created devices.
Set up your widgets on the user interface
You can now place the widgets of your devices features on the user interface.